Hiking Safety Tips: 12 Ways to Stay Safe on the Trail
Hiking can be a simple and rewarding way to spend time outdoors, but even an easy trail deserves some preparation. Conditions can change, routes can be more difficult than expected, and small problems can become harder to manage when you are far from roads or other people.
Good hiking safety is not about being afraid of the outdoors or carrying every piece of equipment available. It is about understanding the route, preparing for realistic conditions, making sensible decisions, and knowing when to change your plans.
Local conditions vary considerably. A trail that is straightforward in one season may be more difficult after rain, while weather, wildlife, trail access, and communication coverage can differ from one location to another.
Before every hike, check official trail information and a reliable weather forecast for the area.
Here are 12 practical ways to make your next hike safer.
1. Plan Your Route
Good hiking safety begins before you leave home.
Learn as much as you reasonably can about the route you intend to follow. Do not rely solely on photographs or a short description that makes a trail appear easy.
Check:
- Trail distance
- Expected hiking time
- Elevation gain
- Terrain
- Trail markings
- Navigation requirements
- Water availability
- Rest areas or facilities
- Seasonal closures
- Access restrictions
- Recent trail conditions
For longer or remote hikes, understand where the route begins and ends and whether there are alternative routes or exit points.
Use official park, land-management, or trail-management information whenever available. Online trail information from other sources can be useful, but conditions may change after the information was published.
Also consider your own ability. A trail that is described as moderate may feel very different depending on your fitness, experience, weather, and footwear.
2. Check the Weather
Weather is one of the most important factors to consider before hiking.
Check the forecast before leaving and consider how conditions could develop throughout the day. Pay particular attention to forecasts for the specific area rather than relying only on conditions in the nearest town.
Depending on the location and season, consider:
- Temperature
- Rain
- Thunderstorms
- Strong winds
- Snow or ice
- Heat
- Visibility
- Sunrise and sunset times
Weather forecasts are not guarantees. Conditions can change, particularly in mountainous or exposed areas.
If severe weather is expected, reconsider whether the hike should go ahead.
Your clothing and equipment should also reflect the forecast. A rain layer, additional insulation, sun protection, or extra water capacity may become important depending on conditions.
Never assume that because the weather is pleasant at the trailhead, it will remain pleasant throughout the entire route.
3. Understand Trail Difficulty
Trail difficulty is more complicated than distance alone.
A short trail can be challenging because of steep climbs, loose rocks, difficult navigation, exposure, or changing conditions.
Before starting, consider:
Distance
Longer routes generally require more time and energy.
Elevation
A trail with substantial uphill sections can be considerably more demanding than a flat trail of similar distance.
Terrain
Rocky, muddy, sandy, slippery, or uneven ground can require more attention and appropriate footwear.
Navigation
A clearly marked trail may be easier for beginners than a route where you must frequently navigate independently.
Conditions
Rain, snow, heat, and other conditions can change the practical difficulty of a trail.
Choose a route that matches your experience and current ability rather than choosing a difficult route simply because it looks impressive.
4. Tell Someone Your Plans
Let someone you trust know where you are going.
This is especially useful when hiking alone or visiting an unfamiliar or remote area.
Share useful information such as:
- Trail or destination
- Planned route
- Expected start time
- Approximate return time
- Vehicle information when relevant
- Who you are hiking with
- What to do if they cannot reach you
If your plans change significantly, update the person who is expecting you.
For remote trips, your plan may need to be more detailed because help could take longer to reach the area.
You should also know the local emergency contact number and understand whether emergency services operate in the area.
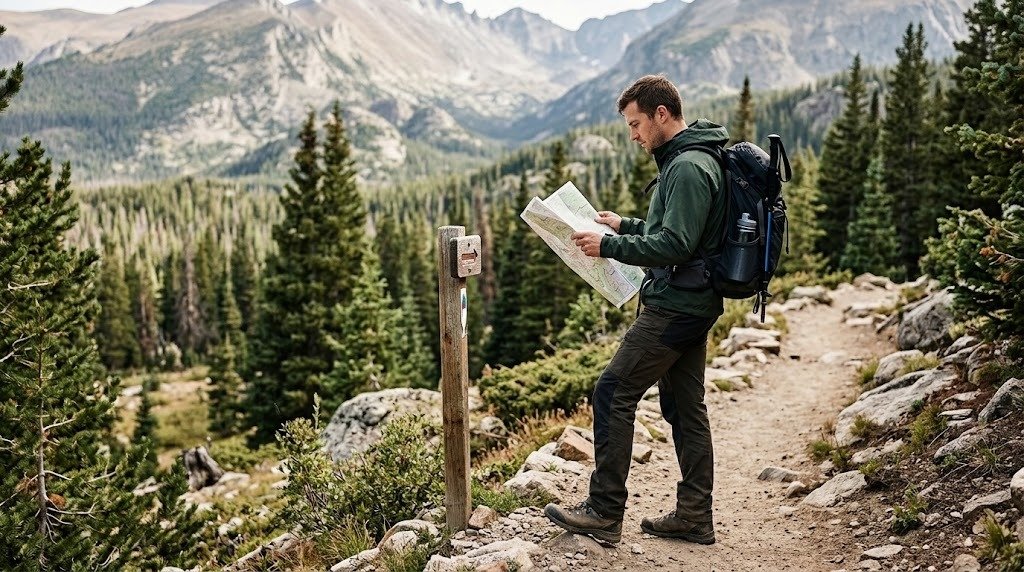
5. Carry Navigation Tools
Getting lost is easier than many beginners expect, particularly where trails intersect or markings are unclear.
Your phone can be an excellent navigation tool, but do not assume it will always work.
Before starting:
- Download relevant maps for offline use
- Check your planned route
- Make sure your phone is charged
- Understand the route rather than blindly following a line on a screen
- Carry a physical map when appropriate
- Consider a compass for routes where independent navigation may be required
Mobile coverage is not available everywhere, and electronic devices can run out of battery or become damaged.
For simple, well-marked trails, extensive navigation equipment may not be necessary. For remote or complex routes, navigation preparation becomes much more important.
6. Bring Enough Water and Food
Water and food are basic hiking essentials.
How much water you need depends on factors such as temperature, physical effort, trail length, and access to reliable water sources.
Do not assume that a stream, lake, or spring is automatically safe to drink from. If you intend to collect natural water, learn about local conditions and use an appropriate treatment method when necessary.
Bring enough food for the planned duration of your hike. Portable options such as sandwiches, fruit, nuts, trail mix, and energy bars can be convenient.
For longer hikes, carrying some additional food can be useful if your return takes longer than expected.
Avoid making your food and water plan based on an assumption that everything will go exactly according to schedule.
7. Wear Suitable Clothing and Footwear
Appropriate clothing can help you stay comfortable and adapt to changing conditions.
Choose clothing based on the weather, terrain, and expected activity.
Depending on conditions, useful items may include:
- Comfortable hiking trousers or shorts
- Breathable shirts
- Warm layers
- Rain protection
- Sun protection
- Extra socks
- Gloves or a warm hat in colder conditions
Footwear should match the terrain.
A maintained trail may be suitable for comfortable walking or trail shoes, while rough or steep terrain may require footwear with greater traction and protection.
Avoid beginning a demanding hike in completely new footwear. Give yourself time to determine whether your shoes fit comfortably and whether they cause rubbing or other problems.
Keep your clothing and footwear practical rather than focusing on expensive specialized equipment that you may not need.
8. Be Aware of Wildlife
Wildlife encounters are part of being outdoors, but they do not need to be treated as a reason to panic.
The appropriate approach depends on the animals found in the region.
Before hiking, learn about wildlife that is commonly encountered in the area and follow local guidance.
General good practices include:
- Do not approach or feed wild animals
- Give animals plenty of space
- Keep food properly stored
- Follow local rules about pets
- Avoid disturbing nests, dens, or other wildlife
- Stay on designated trails where required
If you encounter wildlife, remain calm and follow guidance from the relevant park or wildlife authority.
Wildlife behavior varies by species and location, so avoid assuming that advice for one region automatically applies somewhere else.
9. Know When to Turn Back
One of the most useful hiking safety skills is recognizing when continuing is no longer sensible.
Turning around is not a failure. It is a normal part of outdoor decision-making.
Consider turning back when:
- Weather becomes unsuitable
- You are running out of daylight
- Your water supply is becoming inadequate
- You are significantly more tired than expected
- The trail conditions are worse than anticipated
- You have lost the route and cannot confidently re-establish your position
- Someone in your group cannot safely continue
- The route is taking substantially longer than planned
Do not allow the desire to reach a viewpoint or destination to override sensible judgment.
The goal of a hike is not simply to reach the end of the trail. It is to complete the outing safely and return.
10. Prepare for Emergencies
You do not need to expect an emergency on every hike, but you should have a basic plan.
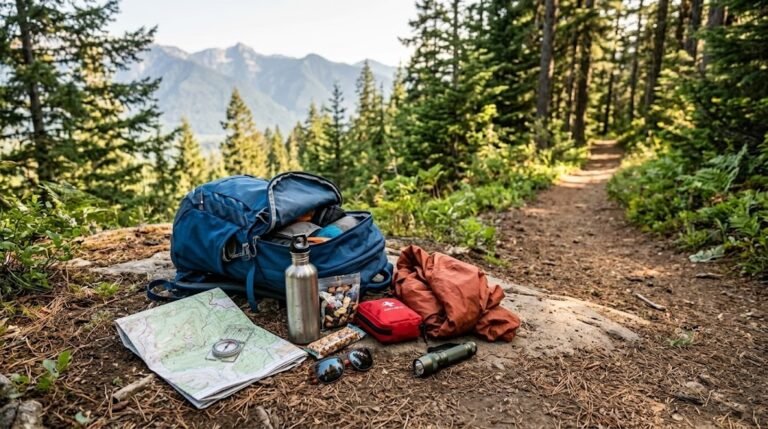
A practical emergency kit may include:
- Basic first-aid supplies
- Charged phone
- Power bank for longer outings
- Navigation tools
- Headlamp or flashlight
- Emergency blanket
- Whistle
- Extra food
- Appropriate weather protection
The equipment you need depends on the route.
A short hike near a populated area may require less preparation than a remote mountain route where assistance may be difficult to reach.
Know how to contact local emergency services and understand that mobile phone coverage may not be available everywhere.
Avoid carrying complicated emergency equipment unless you understand how to use it.
11. Hiking Alone vs Hiking With Others
Both solo and group hiking can be enjoyable, but they require different considerations.
Hiking With Others
Group hiking can provide companionship and another person to help with navigation or decision-making.
Before starting, make sure everyone understands:
- The route
- Expected pace
- Meeting points
- Weather conditions
- Turnaround plans
Try to keep the group together when practical, particularly in unfamiliar or challenging terrain.
Hiking Alone
Solo hiking requires additional planning because there may be no companion immediately available if something goes wrong.
If hiking alone:
- Choose a route appropriate for your experience
- Tell someone your plans
- Carry reliable navigation information
- Keep your phone charged
- Consider the remoteness of the trail
- Allow additional time
- Avoid taking unnecessary risks
Beginners may benefit from starting with a companion or an organized group before attempting unfamiliar remote trails alone.
12. Respect Trail Rules
Trail rules exist for reasons that can include environmental protection, visitor safety, wildlife management, and preservation of the area.
Follow posted instructions and official guidance.
This may include rules about:
- Staying on designated trails
- Camping
- Fires
- Swimming
- Pets
- Waste disposal
- Drones
- Seasonal closures
- Wildlife
- Parking
Do not assume that rules from one hiking area apply everywhere.
Respect other hikers as well. Keep noise at a reasonable level, allow others to pass when appropriate, and avoid blocking narrow sections of trail.
Responsible hiking protects the environment and makes outdoor spaces more enjoyable for everyone.
What to Do If You Get Lost
If you realize that you may have lost the trail, stop and avoid continuing randomly.
Take a moment to assess your situation.
1. Stop Moving Unnecessarily
Continuing without knowing where you are can make navigation more difficult.
2. Check Your Navigation
Look at your offline map, trail map, compass, or other navigation information.
Think about the last point where you were certain of your location.
3. Retrace Your Route When Appropriate
If you are confident about the direction from which you came and the route is safe to retrace, returning to your last known location may be sensible.
Do not blindly follow a route that could expose you to additional hazards.
4. Communicate if Necessary
If you have mobile coverage and need assistance, contact the appropriate local emergency service or another relevant authority.
Give clear information about your location and situation.
5. Stay Calm and Conserve Resources
If you cannot safely find the route, avoid unnecessary movement and use the equipment you brought to stay as comfortable and protected as possible.
If you have planned properly, someone should know your intended route and approximate return time.
Local emergency procedures vary, so always follow guidance from the relevant authorities for the area you are visiting.
Before-You-Go Safety Checklist
Use this checklist before leaving for a hike.
Route
- ☐ I know the trail distance
- ☐ I understand the terrain
- ☐ I have checked the elevation and difficulty
- ☐ I have checked current trail information
- ☐ I know where the trail starts and ends
Weather
- ☐ I checked a reliable weather forecast
- ☐ I considered conditions throughout the hike
- ☐ I have appropriate weather protection
- ☐ I have a plan if conditions deteriorate
Equipment
- ☐ Water
- ☐ Food
- ☐ Navigation tools
- ☐ Appropriate footwear
- ☐ Weather-appropriate clothing
- ☐ Basic first-aid supplies
- ☐ Charged phone
- ☐ Power bank if appropriate
- ☐ Emergency contact information
- ☐ Headlamp or flashlight when appropriate
Communication
- ☐ Someone knows my plans
- ☐ I know the local emergency contact information
- ☐ I understand whether mobile coverage is available
- ☐ I have considered what I will do if I am delayed
Decision-Making
- ☐ I know when I should turn back
- ☐ I have allowed enough time to return
- ☐ I am comfortable changing my plans if conditions are unsuitable
Final Safety Tips
Hiking safety does not require complicated preparation. The most useful habits are often simple ones: know your route, check the weather, carry appropriate supplies, tell someone where you are going, and pay attention to changing conditions.
Do not let a goal, schedule, or desire to reach a particular viewpoint pressure you into continuing when circumstances have changed.
Your safety decisions should always account for local conditions. Weather, terrain, wildlife, trail markings, emergency services, and access rules vary between locations and seasons.
Before every hike, check official information from the relevant park, land manager, trail authority, or local organization when available. Pair that information with a current weather forecast.
Most importantly, develop the habit of making decisions early. It is usually easier to turn around while you still have plenty of daylight, water, energy, and route information than to wait until a situation becomes difficult.
A well-planned hike should leave you with the freedom to enjoy the trail while knowing you have prepared for the conditions you are reasonably likely to encounter.
Good hiking safety is ultimately about preparation, awareness, and judgment. Start with trails that match your experience, learn as you go, and gradually build your skills before taking on more demanding routes.